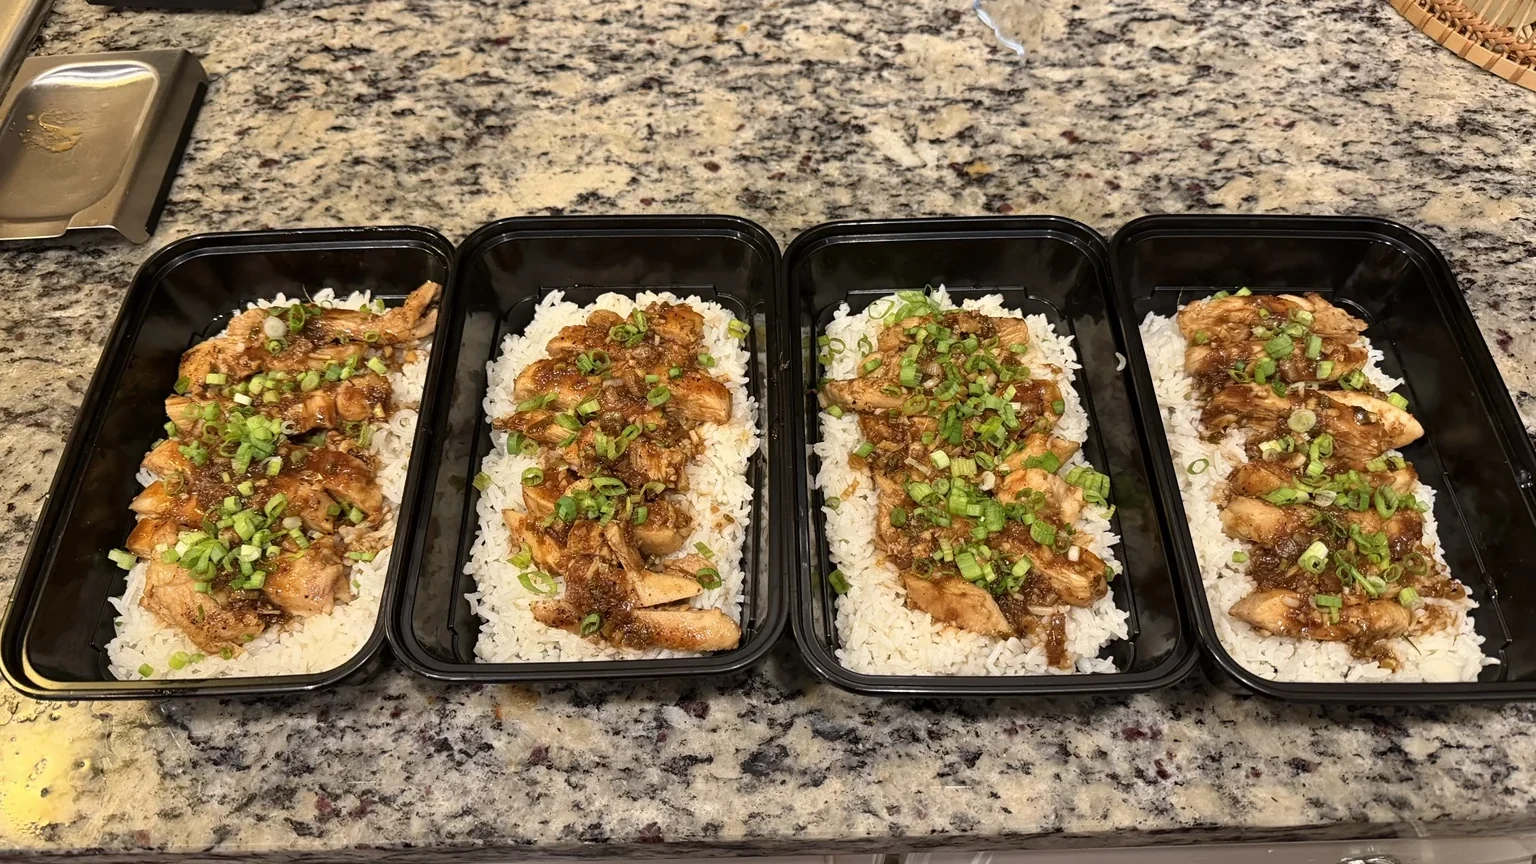
I hate throwing away food, especially something I've cooked myself. Looking forward to the leftovers is what makes a recipe worth repeating for me. This chicken teriyaki passed that test.
I already liked teriyaki chicken and wanted to try making the sauce myself. The fresh ginger made a difference, and I could get the sauce as thick or thin as I wanted. This batch made four portions with jasmine rice, packed into the meal-prep containers in the photos.
I cooked this batch on October 10, 2026. Prep took me about 20 minutes. Chop everything before turning on the heat, then start the chicken once the rice is simmering.
Ingredients for 4 portions
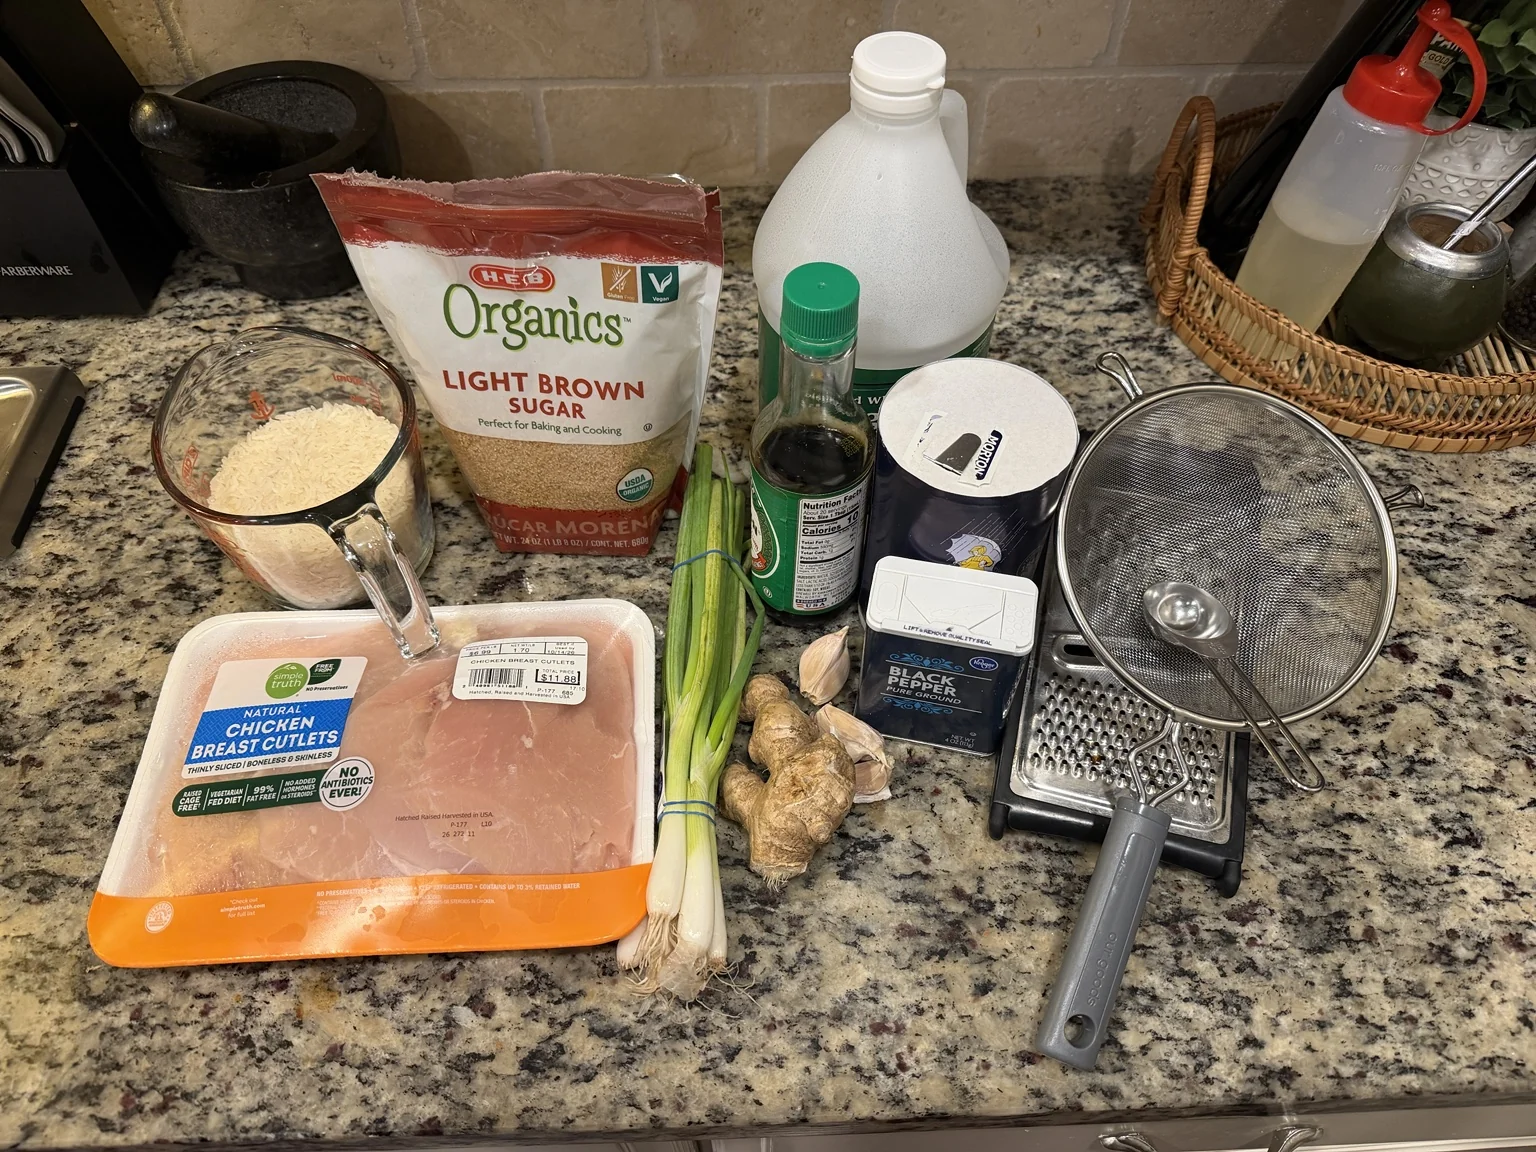
- 1.7 lb boneless, skinless chicken breast cutlets
- 1½-2 tablespoons vegetable or canola oil, divided as needed
- ½ teaspoon black pepper
- Salt, optional (the teriyaki sauce contains soy sauce)
- 7 tablespoons soy sauce (¼ cup plus 3 tablespoons)
- 5 tablespoons packed light brown sugar
- 5 tablespoons water
- 1 tablespoon white vinegar
- 1½ tablespoons freshly grated ginger
- 3-4 cloves garlic, finely minced
- 1½ teaspoons sesame oil, optional
- 2 teaspoons all-purpose flour
- 2 tablespoons cold water
- 1½ cups uncooked jasmine rice
- 1 cup low-sodium chicken broth
- 1¼ cups water
- 1 teaspoon butter, optional
- 3-4 green onions, thinly sliced, with white and green portions separated
- Sesame seeds, optional
Cooking method
Prepare the ginger, garlic, and green onions
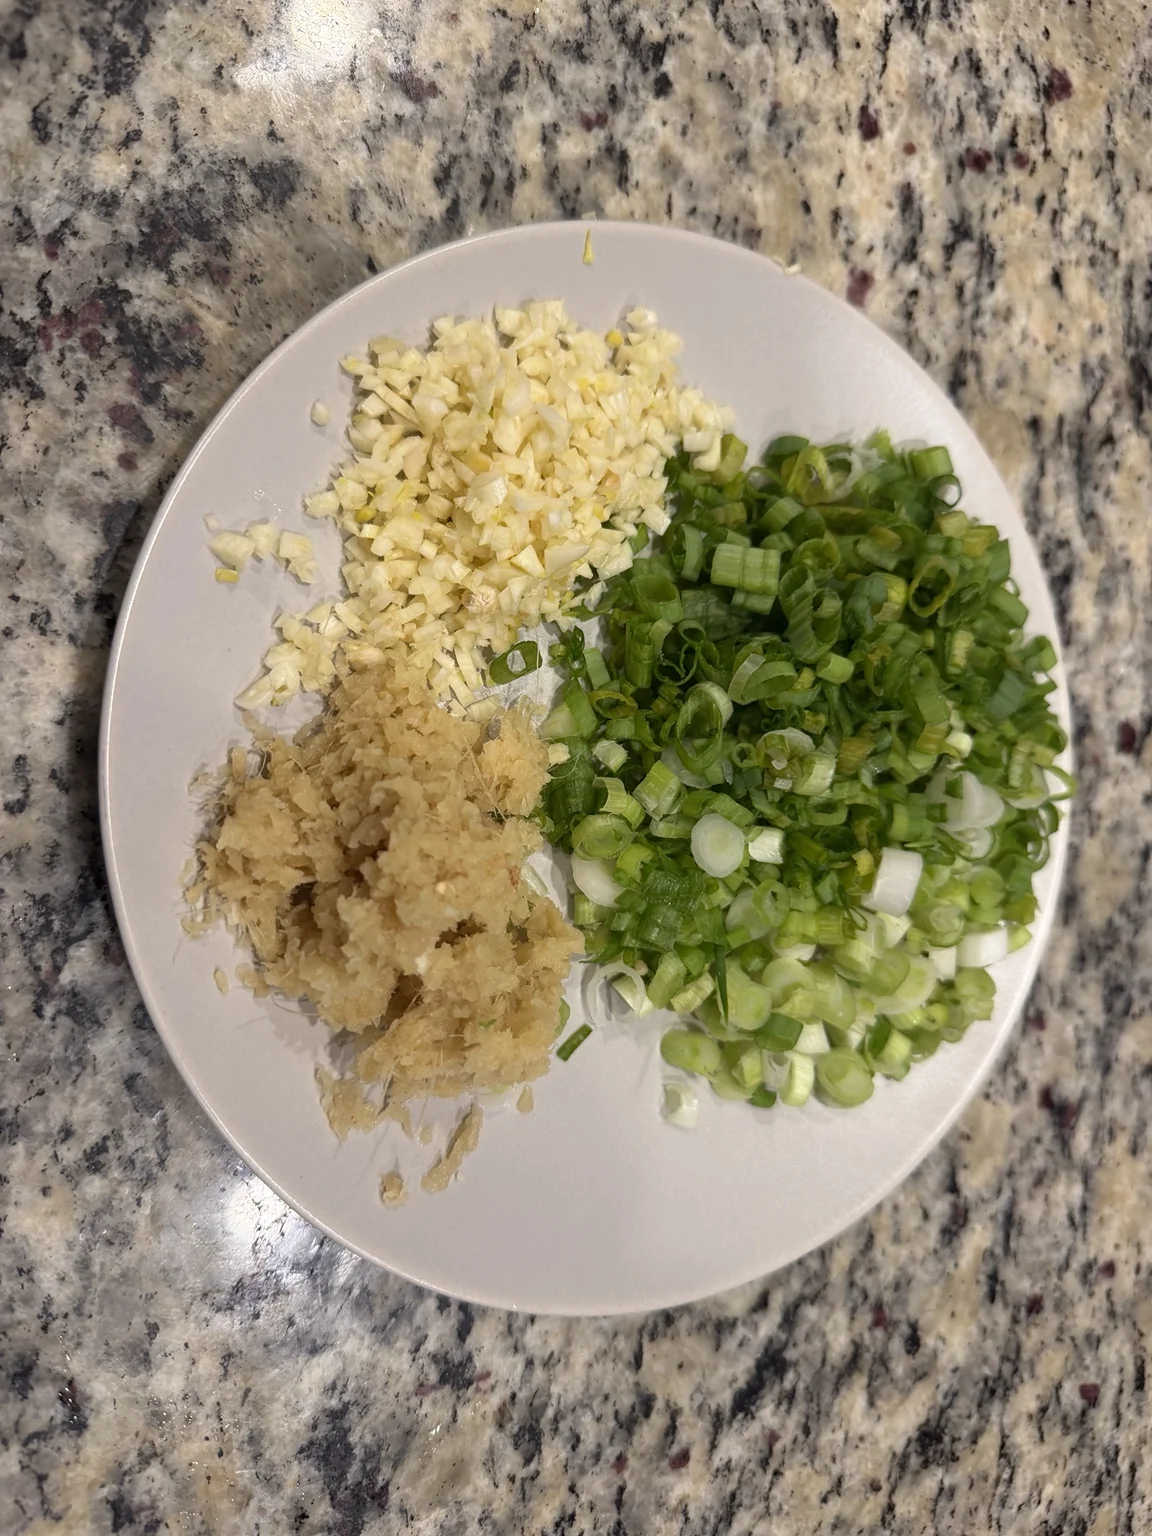
Peel and finely grate the fresh ginger, leaving any tough, stringy fibers out of the sauce. Mince the garlic and slice the green onions, separating the white portions from the green tops. The garlic and ginger go into the teriyaki sauce, not into the rice. Reserve the green onion tops for serving.
Rinse and cook the jasmine rice
Rinse 1½ cups jasmine rice under cool water in a fine-mesh strainer until the water is mostly clear. Let it drain briefly.
Add the rice to a medium saucepan with 1 cup low-sodium chicken broth and 1¼ cups water. Add a teaspoon of butter if using. Stir once, then bring the liquid to a boil over medium-high heat. Reduce the heat to low, cover with a tight-fitting lid, and simmer for approximately 12-15 minutes, or until the liquid has been absorbed and the rice is tender. If the rice package specifies a substantially different liquid ratio or cooking time, follow its guidance.
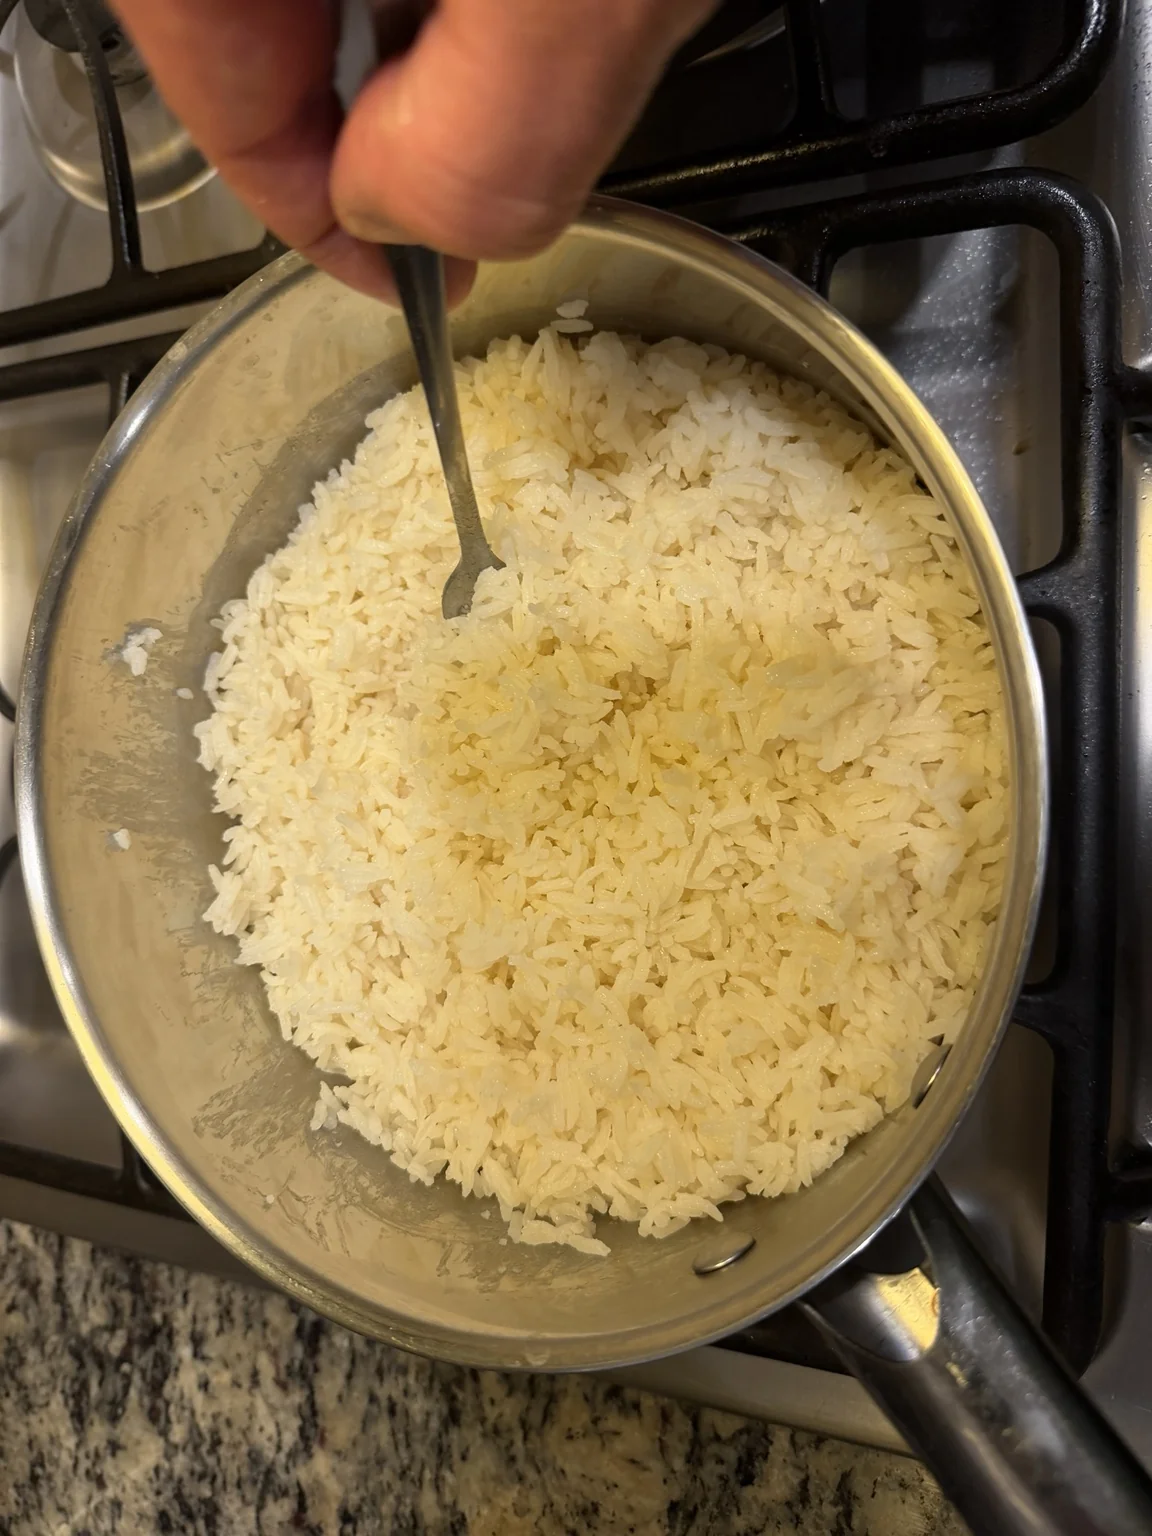
Remove the saucepan from the heat and let it rest, covered, for 10 minutes. Fluff gently with a fork just before serving.
Whisk together the teriyaki sauce
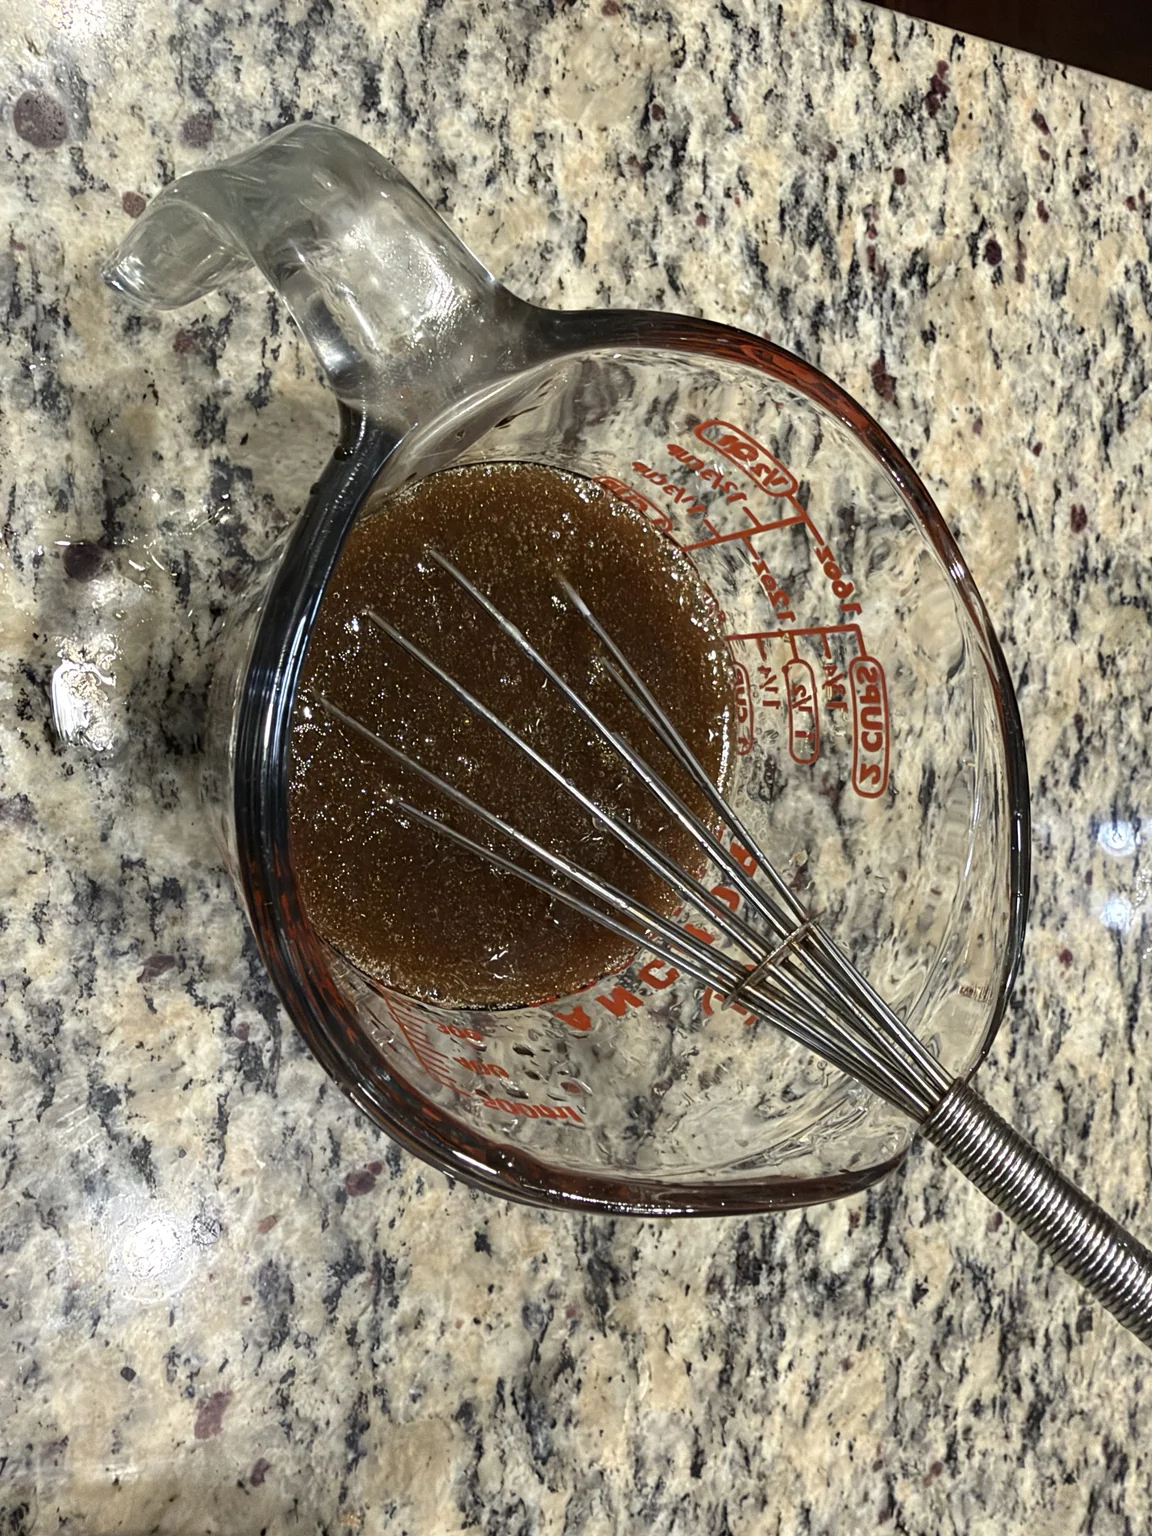
In a mixing bowl or large measuring cup, combine the soy sauce, brown sugar, 5 tablespoons water, white vinegar, grated ginger, minced garlic, and optional sesame oil. Whisk until the sugar is mostly dissolved.
In a separate small bowl, whisk 2 teaspoons all-purpose flour with 2 tablespoons cold water until smooth. Set this flour slurry aside for later; it should not go directly into the cold sauce mixture.
Sear the chicken
Pat the chicken cutlets dry with paper towels and season with black pepper. Heat 1 tablespoon oil in a large skillet over medium-high heat. Cook the cutlets in a single layer, about 2-3 minutes per side for thin pieces, adjusting for thickness. Work in two batches, adding more oil as necessary so the chicken browns rather than steams.
Use an instant-read thermometer to confirm the thickest part of each cutlet reaches 165°F (74°C). Transfer the cooked cutlets to a clean plate; leave the browned bits in the skillet for the sauce.
Simmer and thicken the teriyaki sauce
Reduce the skillet to medium heat. If you like, add the white portions of the green onions and cook for 20-30 seconds. Pour in the mixed teriyaki sauce, using a wooden spoon to scrape up the browned bits. Simmer gently for around 2 minutes.
Stir the flour slurry again and gradually whisk it into the sauce. Simmer, stirring regularly, for another 3-5 minutes, until the raw flour taste is gone and the sauce lightly coats a spoon. Don't reduce it too aggressively or it may become overly salty. If needed, loosen with 1-2 tablespoons water.
Slice and glaze the chicken
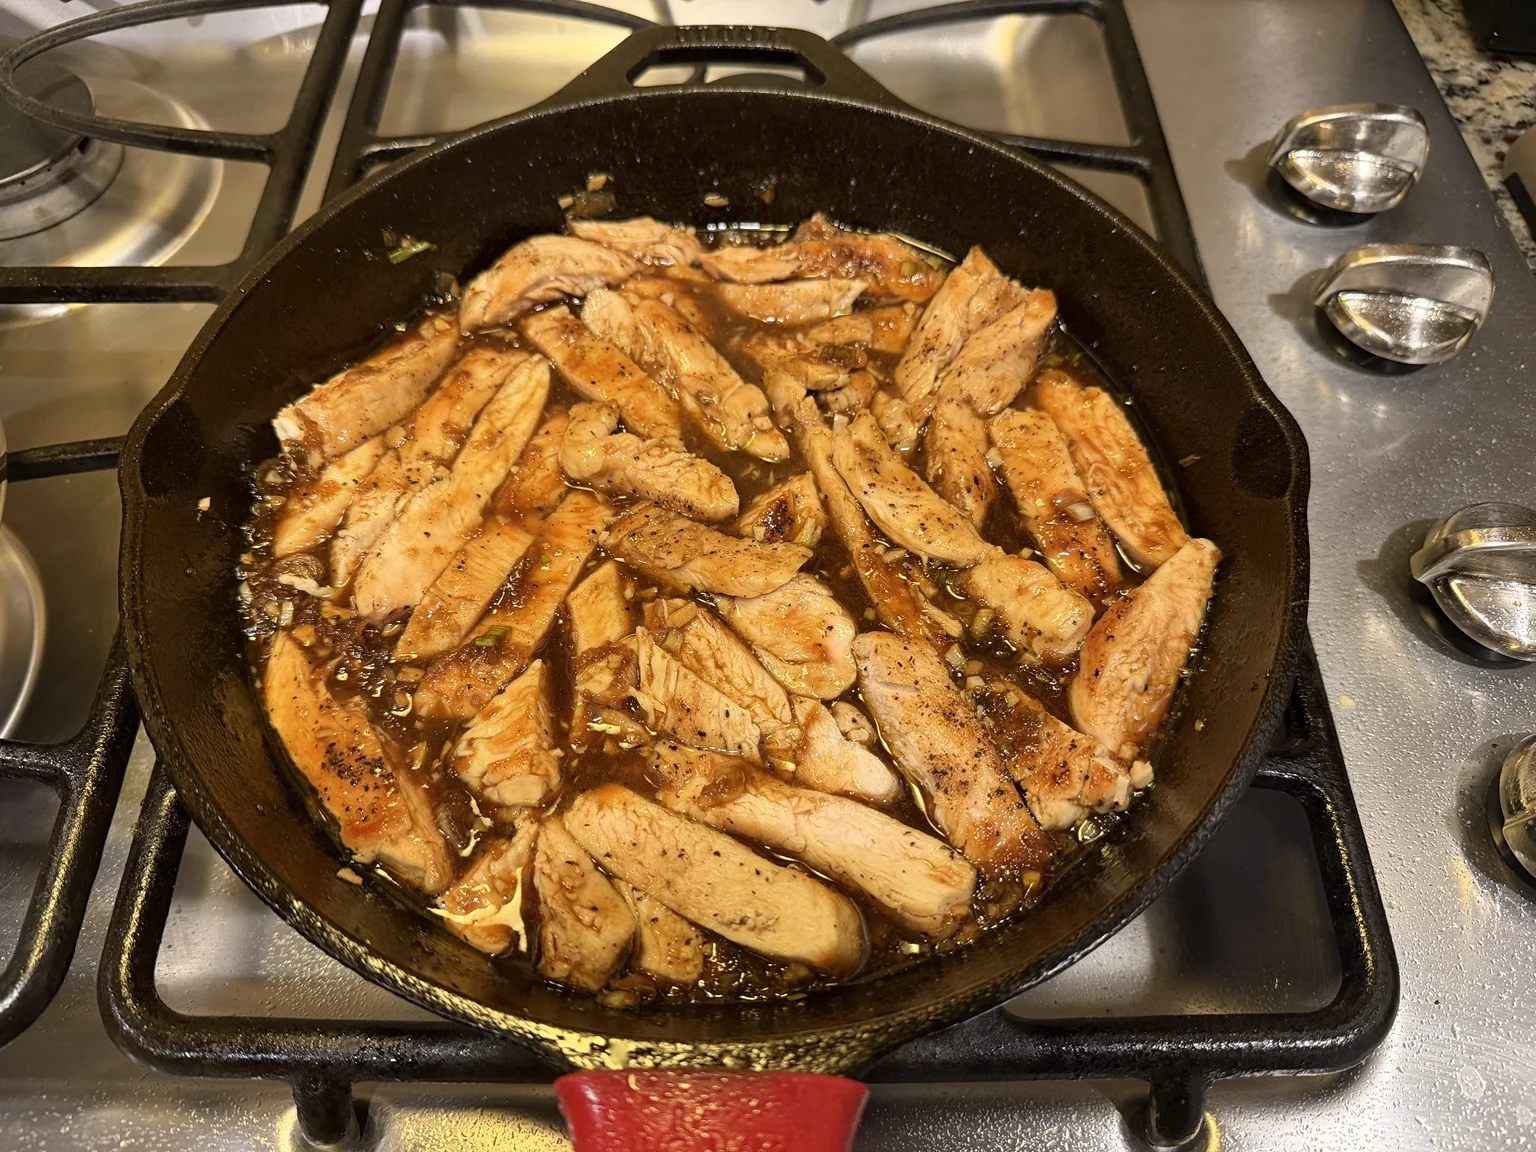
Cut the cooked cutlets into roughly ½-inch strips against the grain. If you'd like extra sauce for the rice, reserve a few tablespoons before adding the chicken.
Return the chicken and its resting juices to the skillet. Toss gently over low heat for 30-60 seconds, just until evenly coated and warmed through. Avoid simmering the already-cooked cutlets for several minutes, which can dry them out.
Divide into four portions and garnish
Fluff the rested rice and divide among four plates, bowls, or meal-prep containers. Add the teriyaki chicken, spoon over any remaining sauce, and finish with the reserved green onion tops. Sesame seeds are optional.
Storage notes
I kept one portion in the fridge for the next day. The frozen portions went into the freezer the night I cooked them, after cooling. I thawed those in the fridge before reheating.
Reheating notes
I tried the refrigerated portion the next day and frozen portions later in the week. Both got the same treatment: two minutes in the microwave, followed by 1 to 2 tablespoons of bottled teriyaki sauce. I didn't notice a significant difference. The chicken stayed tender, the rice didn't get mushy, and the fresh ginger flavor carried through.
What I’d do before turning on the heat
Fresh ginger took more prep than I expected. You may need to grate a fair-sized piece to get the amount this sauce needs. Peel it first, and leave the tough, stringy bits out. I don’t want to pick those out while I’m eating.
Get the garlic, ginger, and green onions ready before heating anything. Once the rice is simmering, you can work on the chicken. Check that your pan has room to glaze all the sliced chicken at once; otherwise, do that in batches too.
Pat the chicken dry before searing so it browns. Keep the green onion tops for serving, and taste the finished sauce before adding salt. Soy sauce and broth already bring salt to the dish.
Next time, I’d make more sauce
The homemade sauce tasted much better to me than the bottled teriyaki. The fresh ginger and garlic brought it together, and making it myself let me control the thickness.
Bottled sauce helped add moisture back when I reheated the portions. Next time, I’d make extra homemade sauce and save some for reheating. I haven’t tried a larger sauce batch yet; the ingredient amounts above are for the batch I cooked.
Store and reheat the portions
Refrigerate the portions in shallow containers within two hours, or within one hour if the temperature is above 90°F. Use refrigerated leftovers within 3 to 4 days, or freeze them for longer storage. Reheat chicken and rice to 165°F (74°C), checking with a thermometer. These storage limits and temperature recommendations follow USDA food-safety guidelines.
The two-minute microwave time in my reheating notes describes what I did with these portions. Check the temperature of your portion rather than using that time as a doneness check.
Questions about the sauce and rice
Can I use white vinegar instead of rice vinegar?
Yes. White vinegar tastes sharper; the tablespoon in this recipe is balanced with brown sugar and soy sauce.
What does the chicken broth add to the rice?
It adds savory flavor. Low-sodium broth helps keep the rice from competing with the soy-based sauce.
Can I thicken the sauce with flour?
Yes. Whisk the flour with cold water before adding it, then simmer as directed. The sauce will look less clear than a cornstarch glaze.
Would I make this again?
I’d happily eat this several times in a week. I don’t mind time spent cooking or washing dishes when I know I’ll enjoy the meals afterward. This batch had chicken and rice; I left the vegetables out this time.
If you’re choosing your first few meal-prep recipes, start with dishes you already like. I want meals I’ll actually eat before I start adjusting them to meet other goals.
Read how to plan a small meal-prep batch or how to cook chicken breast for meal prep.